


Call us on 1300 722 491 to speak to one of our friendly team who will be happy to assist you.
You can also view and download machine operator and parts manuals.
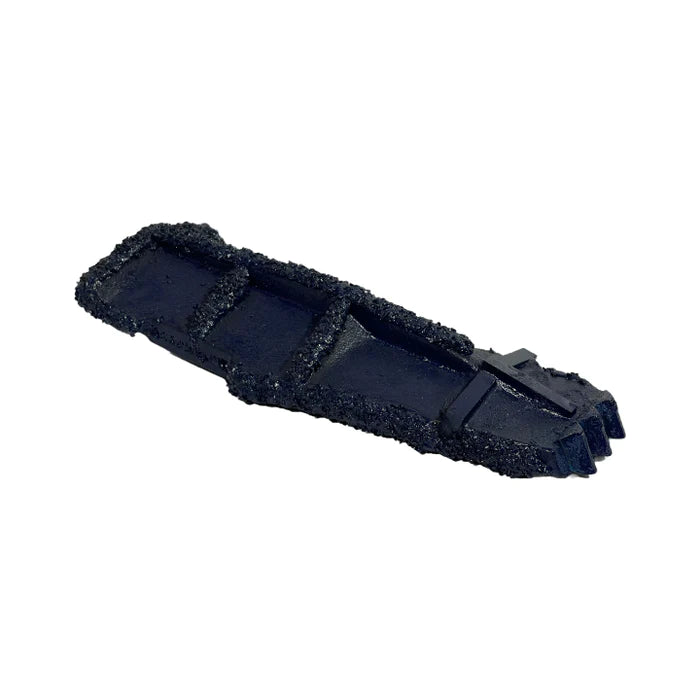
The #8 Shank Assembly is a rugged and dependable tool for deep ripping. However, if the blades are not secured properly they will come off easily. You can prevent this from happening by following these steps.
A blade knock-on tool (002-4051) and a hammer are required to secure your #8 wear parts to the shank safely and tightly.
First, put the shinguard in place. Secure it by affixing the blade by hand. Then, use the knock-on tool and a hammer to tighten the blade. Five good strikes with a hammer is usually enough.
You can check the blade is secured in place by checking its position relative to the shank: from the side, the blade should be flush with the blade mounting ridge on the shank, roughly 10mm from the shinguard. From the bottom, the blade's lower ridges should be flush with the end of the shank.


Call us on 1300 722 491 to speak to one of our friendly team who will be happy to assist you.
You can also view and download machine operator and parts manuals.